Intro
Admins can create and manage groups of Domo users. Use groups to grant access to specified content to all group members. For example, you can create a “Marketing” group whose members have access to marketing-related Cards. You can also create dynamic groups in which membership is determined automatically based on whether individuals meet specified criteria. The criteria can include attributes. Learn about Attributes. For example, a dynamic “Marketing” group includes all Marketing department members with a “manager” title. If a marketing manager leaves the organization and is replaced by a new manager, the new manager is added to the group automatically.Access the Groups Home
Navigate to the Admin Settings. Under Governance, select Groups to open the Groups Home.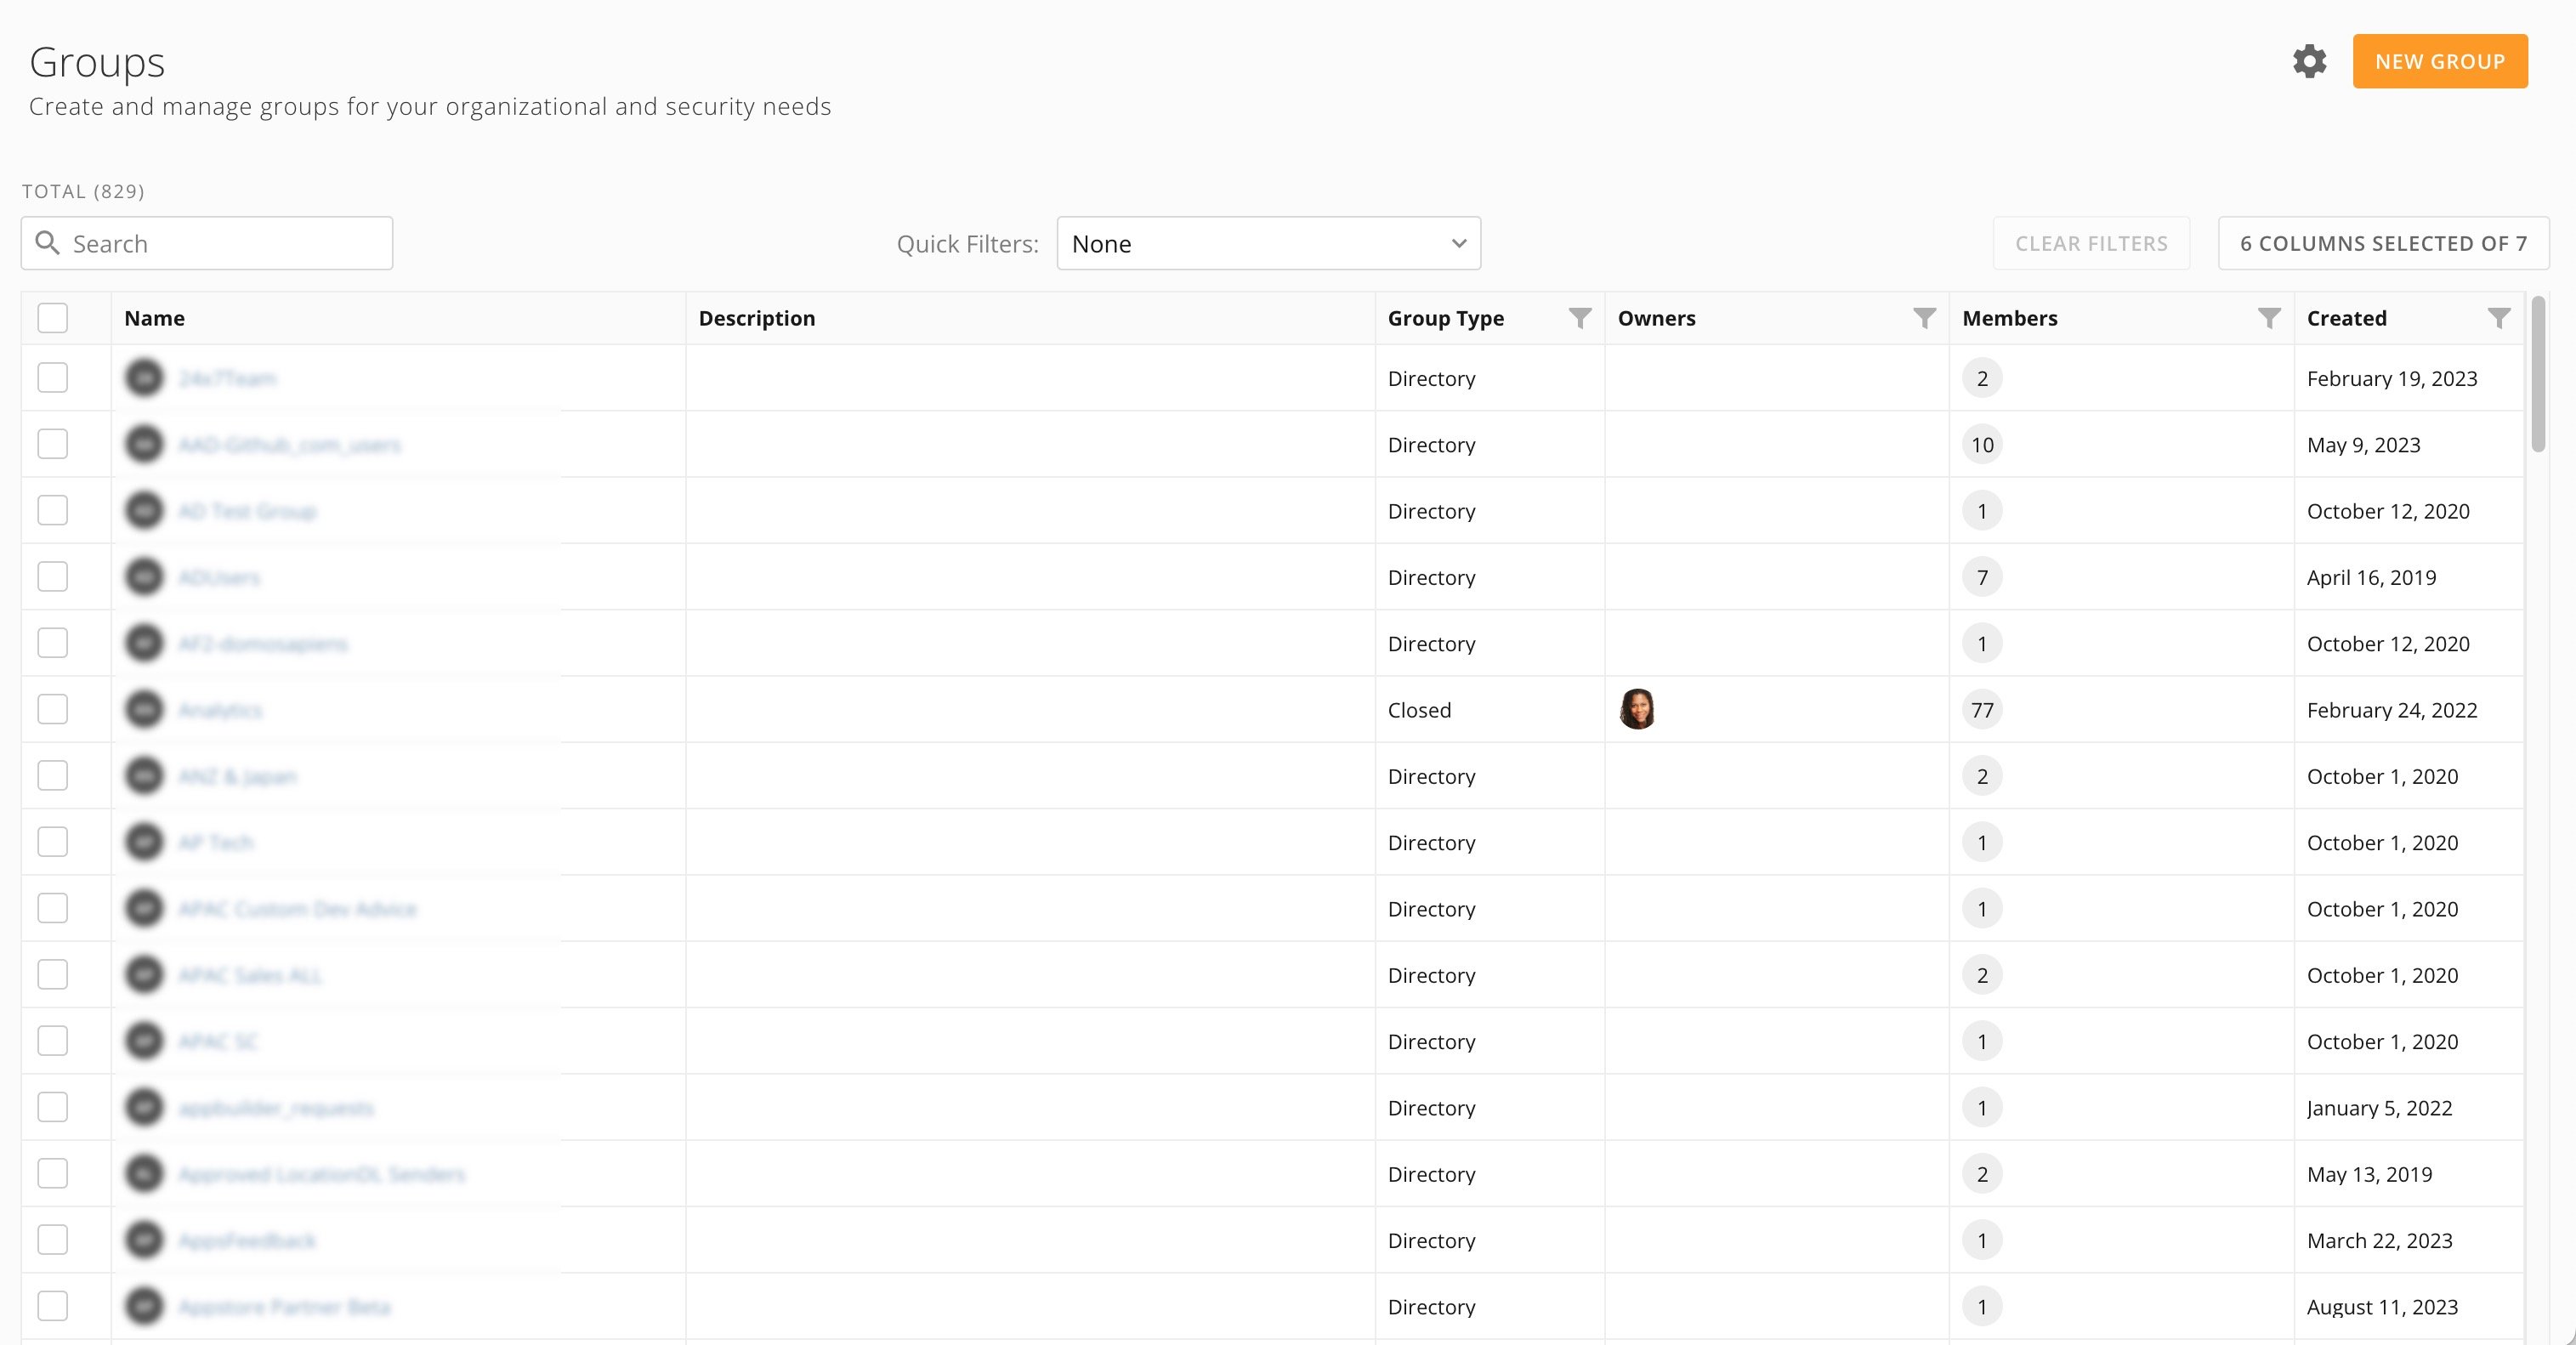
Groups Home
From the Groups Home, you can create groups and manage them (if you are the group owner). Admins can also adjust the Group Settings. Existing groups appear in the groups list, which you can search, filter, and sort.Group Settings
From the Groups Home, select Group settings to open the Group settings page.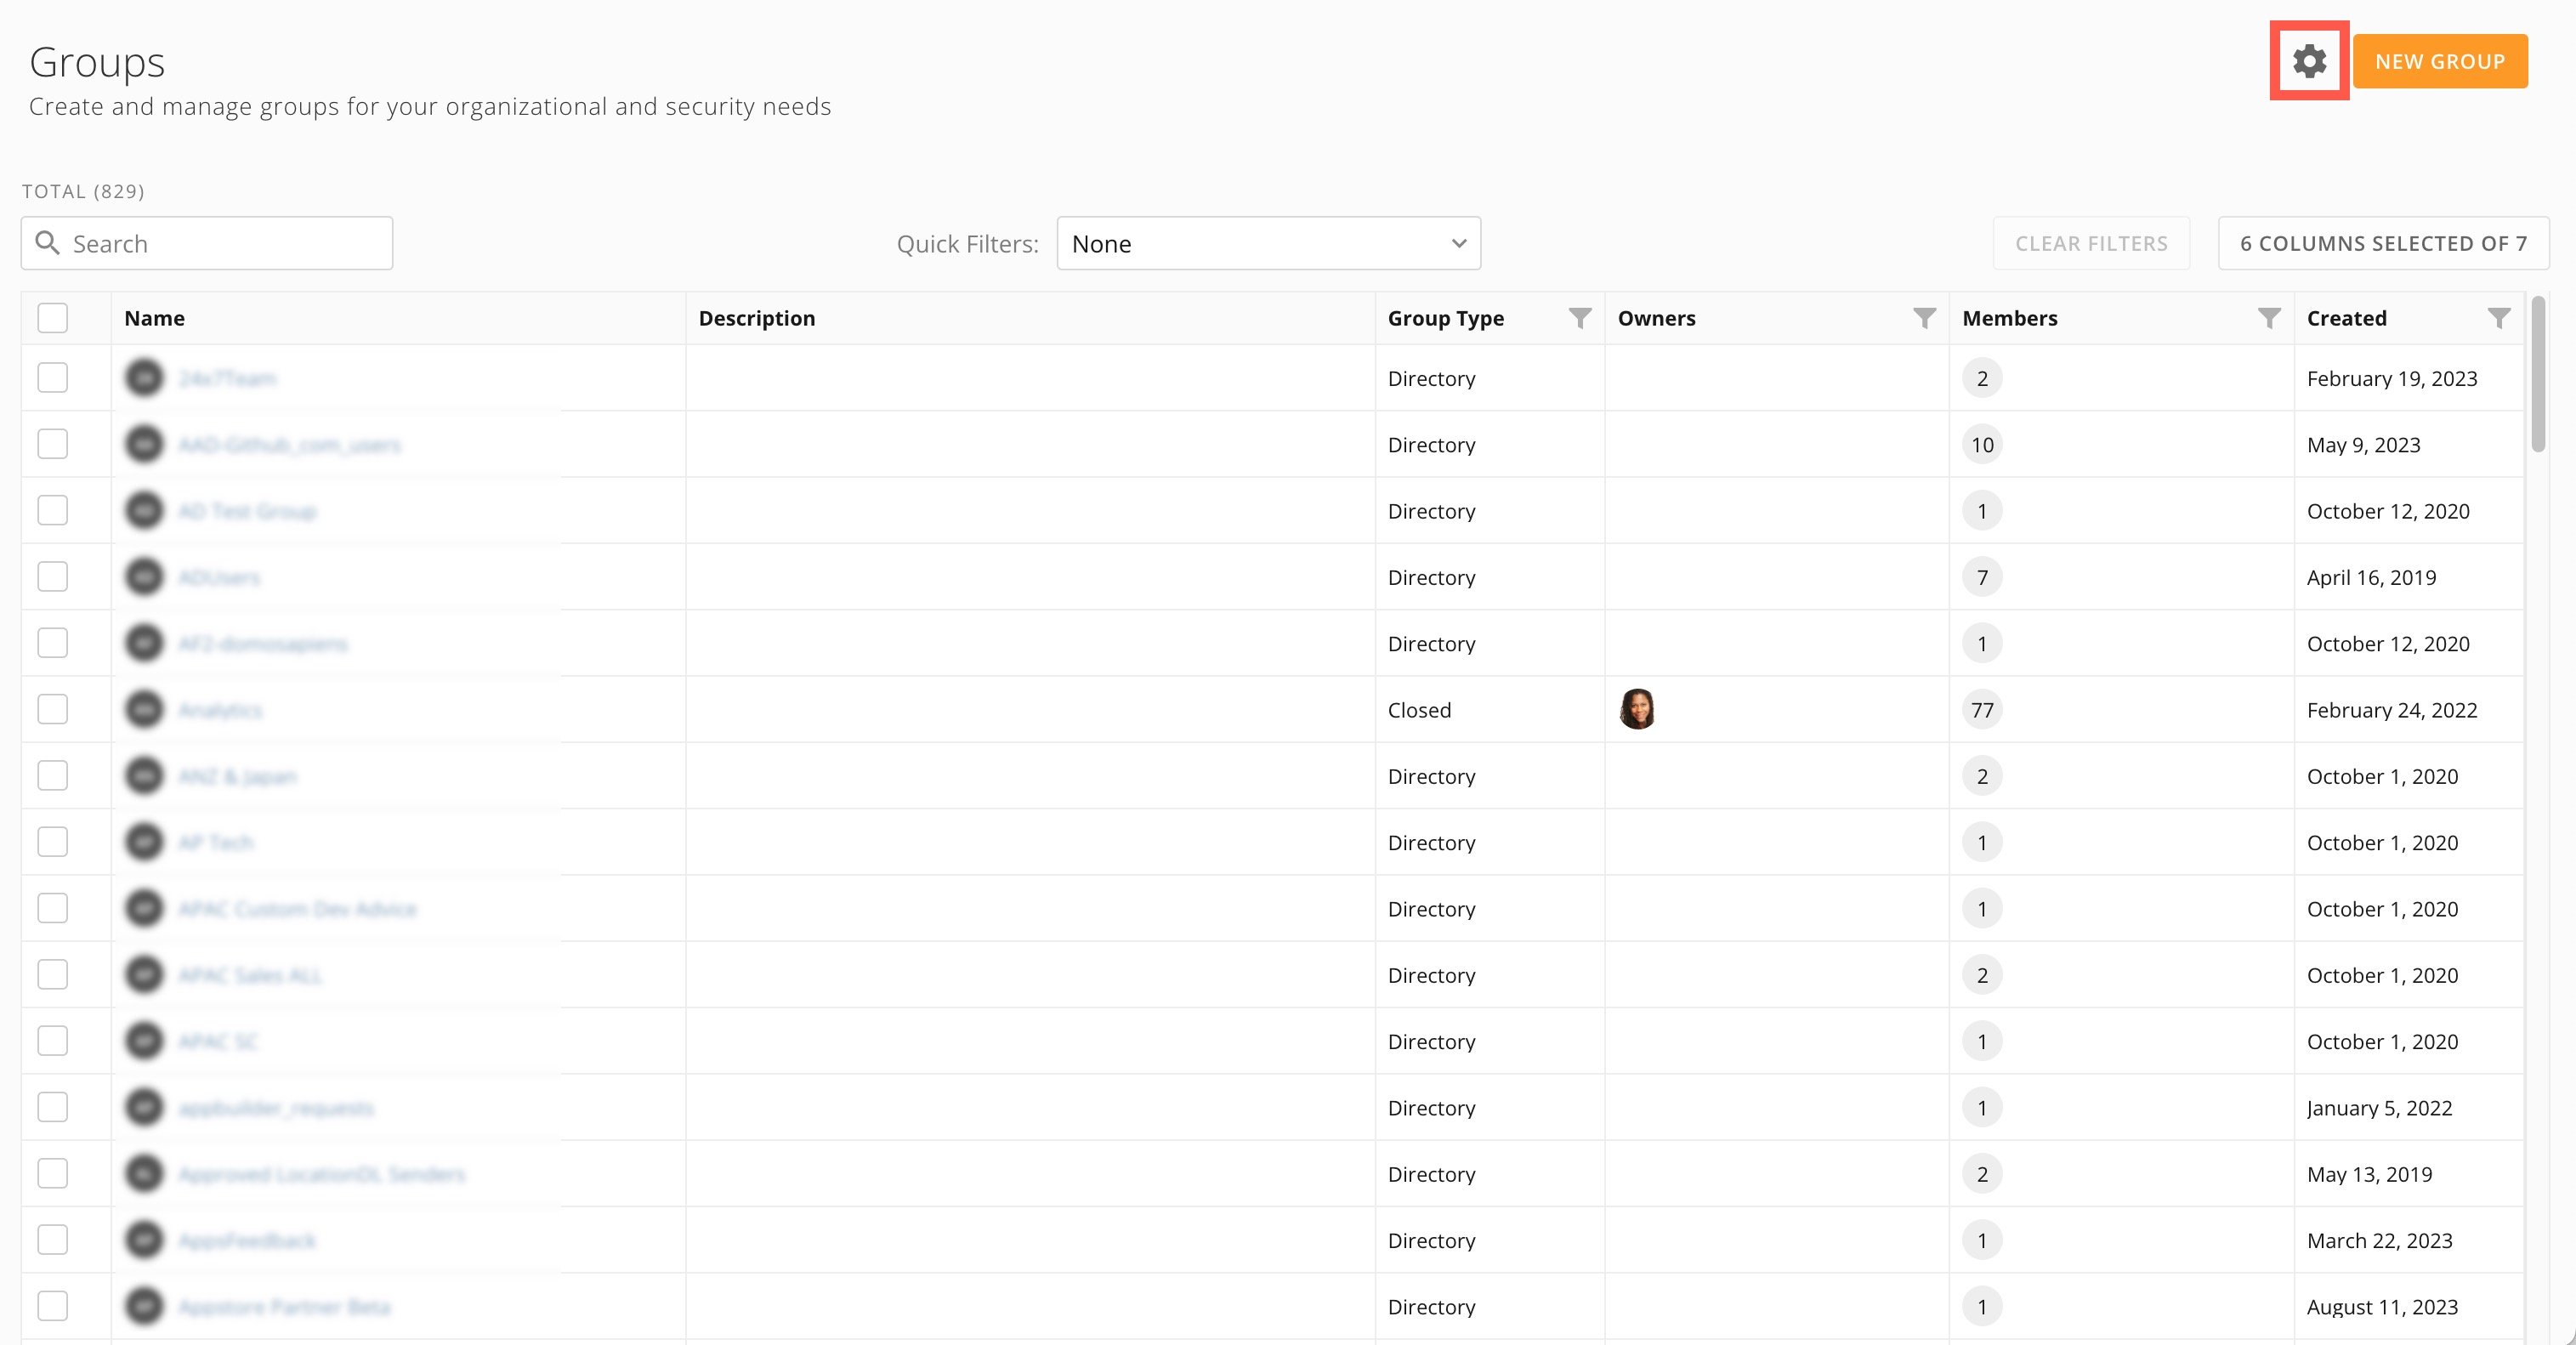
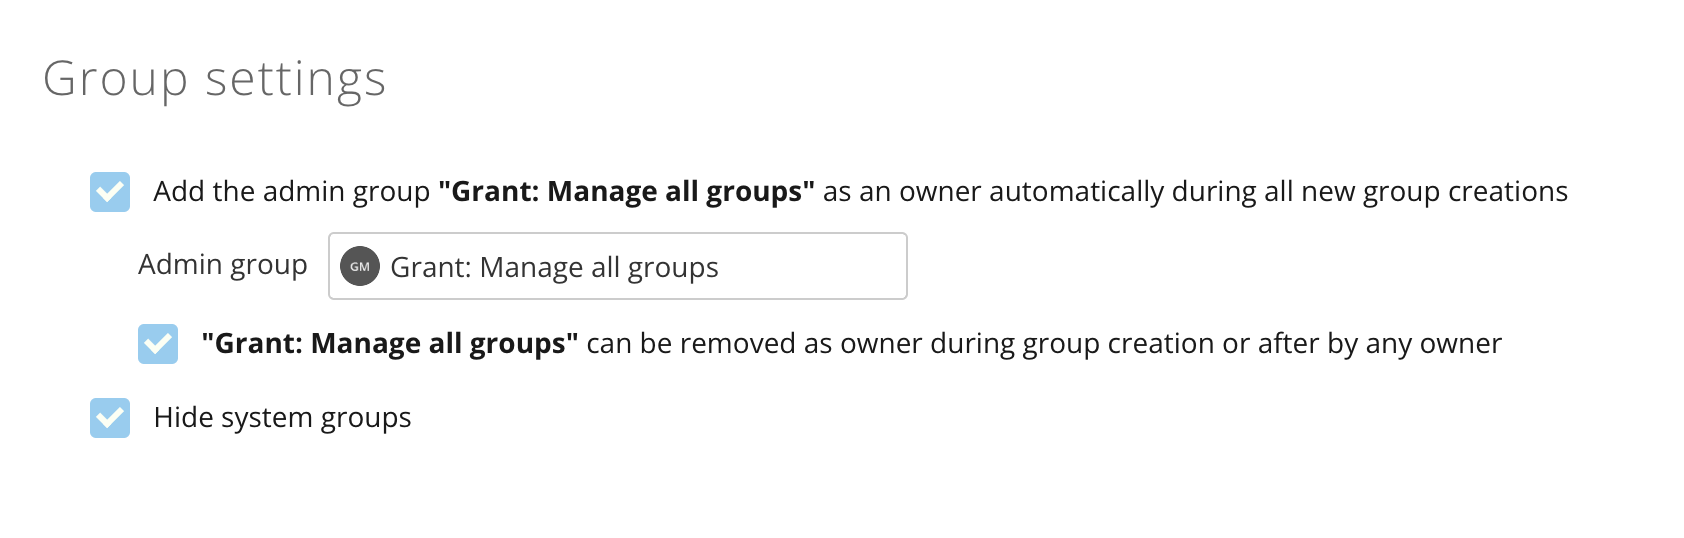
- Add the admin group
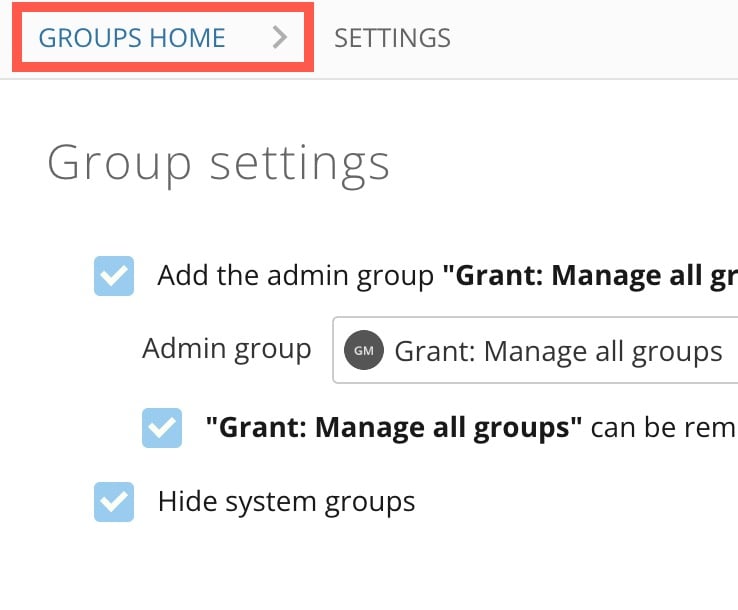
<Group name>as an owner automatically during all new group creations — With this option enabled, every new group created in the instance includes this group as an owner.- To use this option, you must assign a group to be the admin group in the Admin group field. As in the image below, you can create a group that includes all holders of a certain grant within your instance. The image displays a group named “Grant: Manage all groups” assigned as the admin group. In this case, everyone with the Manage All Groups grant enabled becomes part of this group, and owns every new group created when this option is enabled.
- The
<Group name>can be removed as owner during group creation or after by any owner checkbox gives you the option to allow any group owner to remove this admin group while or after creating a group.
- Hide system groups — Checking this box removes System groups from the groups list.
Groups List
The groups list displays all existing groups in your instance. Expand the sections below to learn about the columns, tools, and options available for working with the list.Columns
Columns
The groups list can contain seven available columns, based on your selection. The first column, Name, always displays. You can choose to show or hide the remaining columns.To change the column configuration, select x Columns Selected of 7.
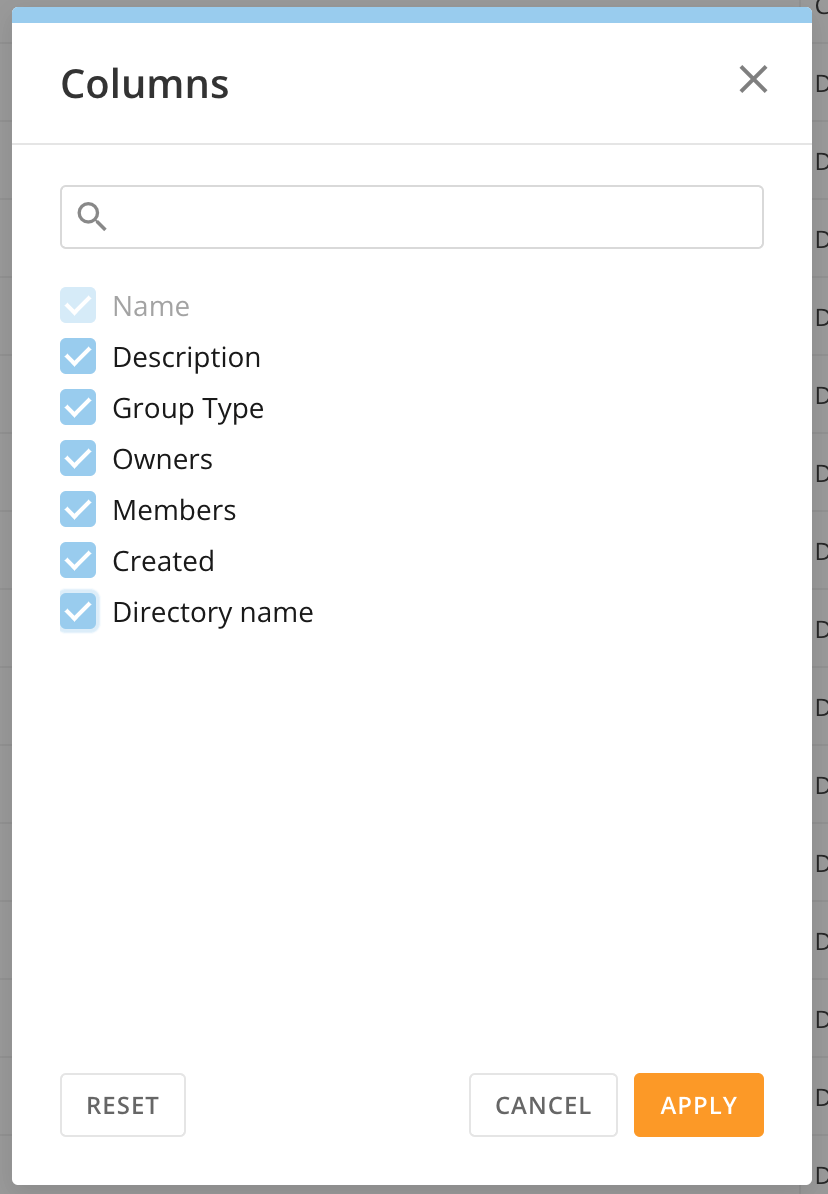
- Name — The group name and avatar. By default, the groups display in the list in alphabetical order. You cannot hide this column.
- Description — A description of the group. This is optional when creating a group.
- Group Type — The group type. The options are Open, Ad Hoc, Directory, Closed, Dynamic, and System.
- Owners — The avatar of the group owner(s). Hover over an avatar to see the name of the person/group.
- Members — Displays the number of group members, rounded to one decimal for numbers above 1,000. For example, 1,600 members displays as 1.6K.
- Created — The date the group was created.
- Directory name — For Directory groups, the name of the group in the SSO provider. Differs from the group name in Domo if the group was renamed in Domo after creation.
Note: When you enable SSO, two different types of groups are created: Ad
Hoc groups and Directory groups. Ad Hoc groups are created within your Domo
instance, while Directory groups are created within your IdP and must be
managed from within your SSO provider’s website. Learn more about
implementing
SSO.
Search
Search
Use the search tool to search the list with text. You can enter a partial or
complete group name or a partial or complete group type (Ex. Directory or
Closed).
Selecting groups
Selecting groups
In the groups list, each group has a checkbox. Check the box to select the row. Check multiple boxes to select multiple rows.Select all groupsSelecting all groups depends on the number of groups in your instance.For fewer than 100 groups, check the box at the upper-left corner of the groups list to select all groups.For more than 100 groups, check the box at the upper-left corner of the groups list to select the first 100 groups. Scroll down to the 101st group and select the box again (filled in with Domo blue) to select the next 100 groups. Repeat these steps until all groups are selected.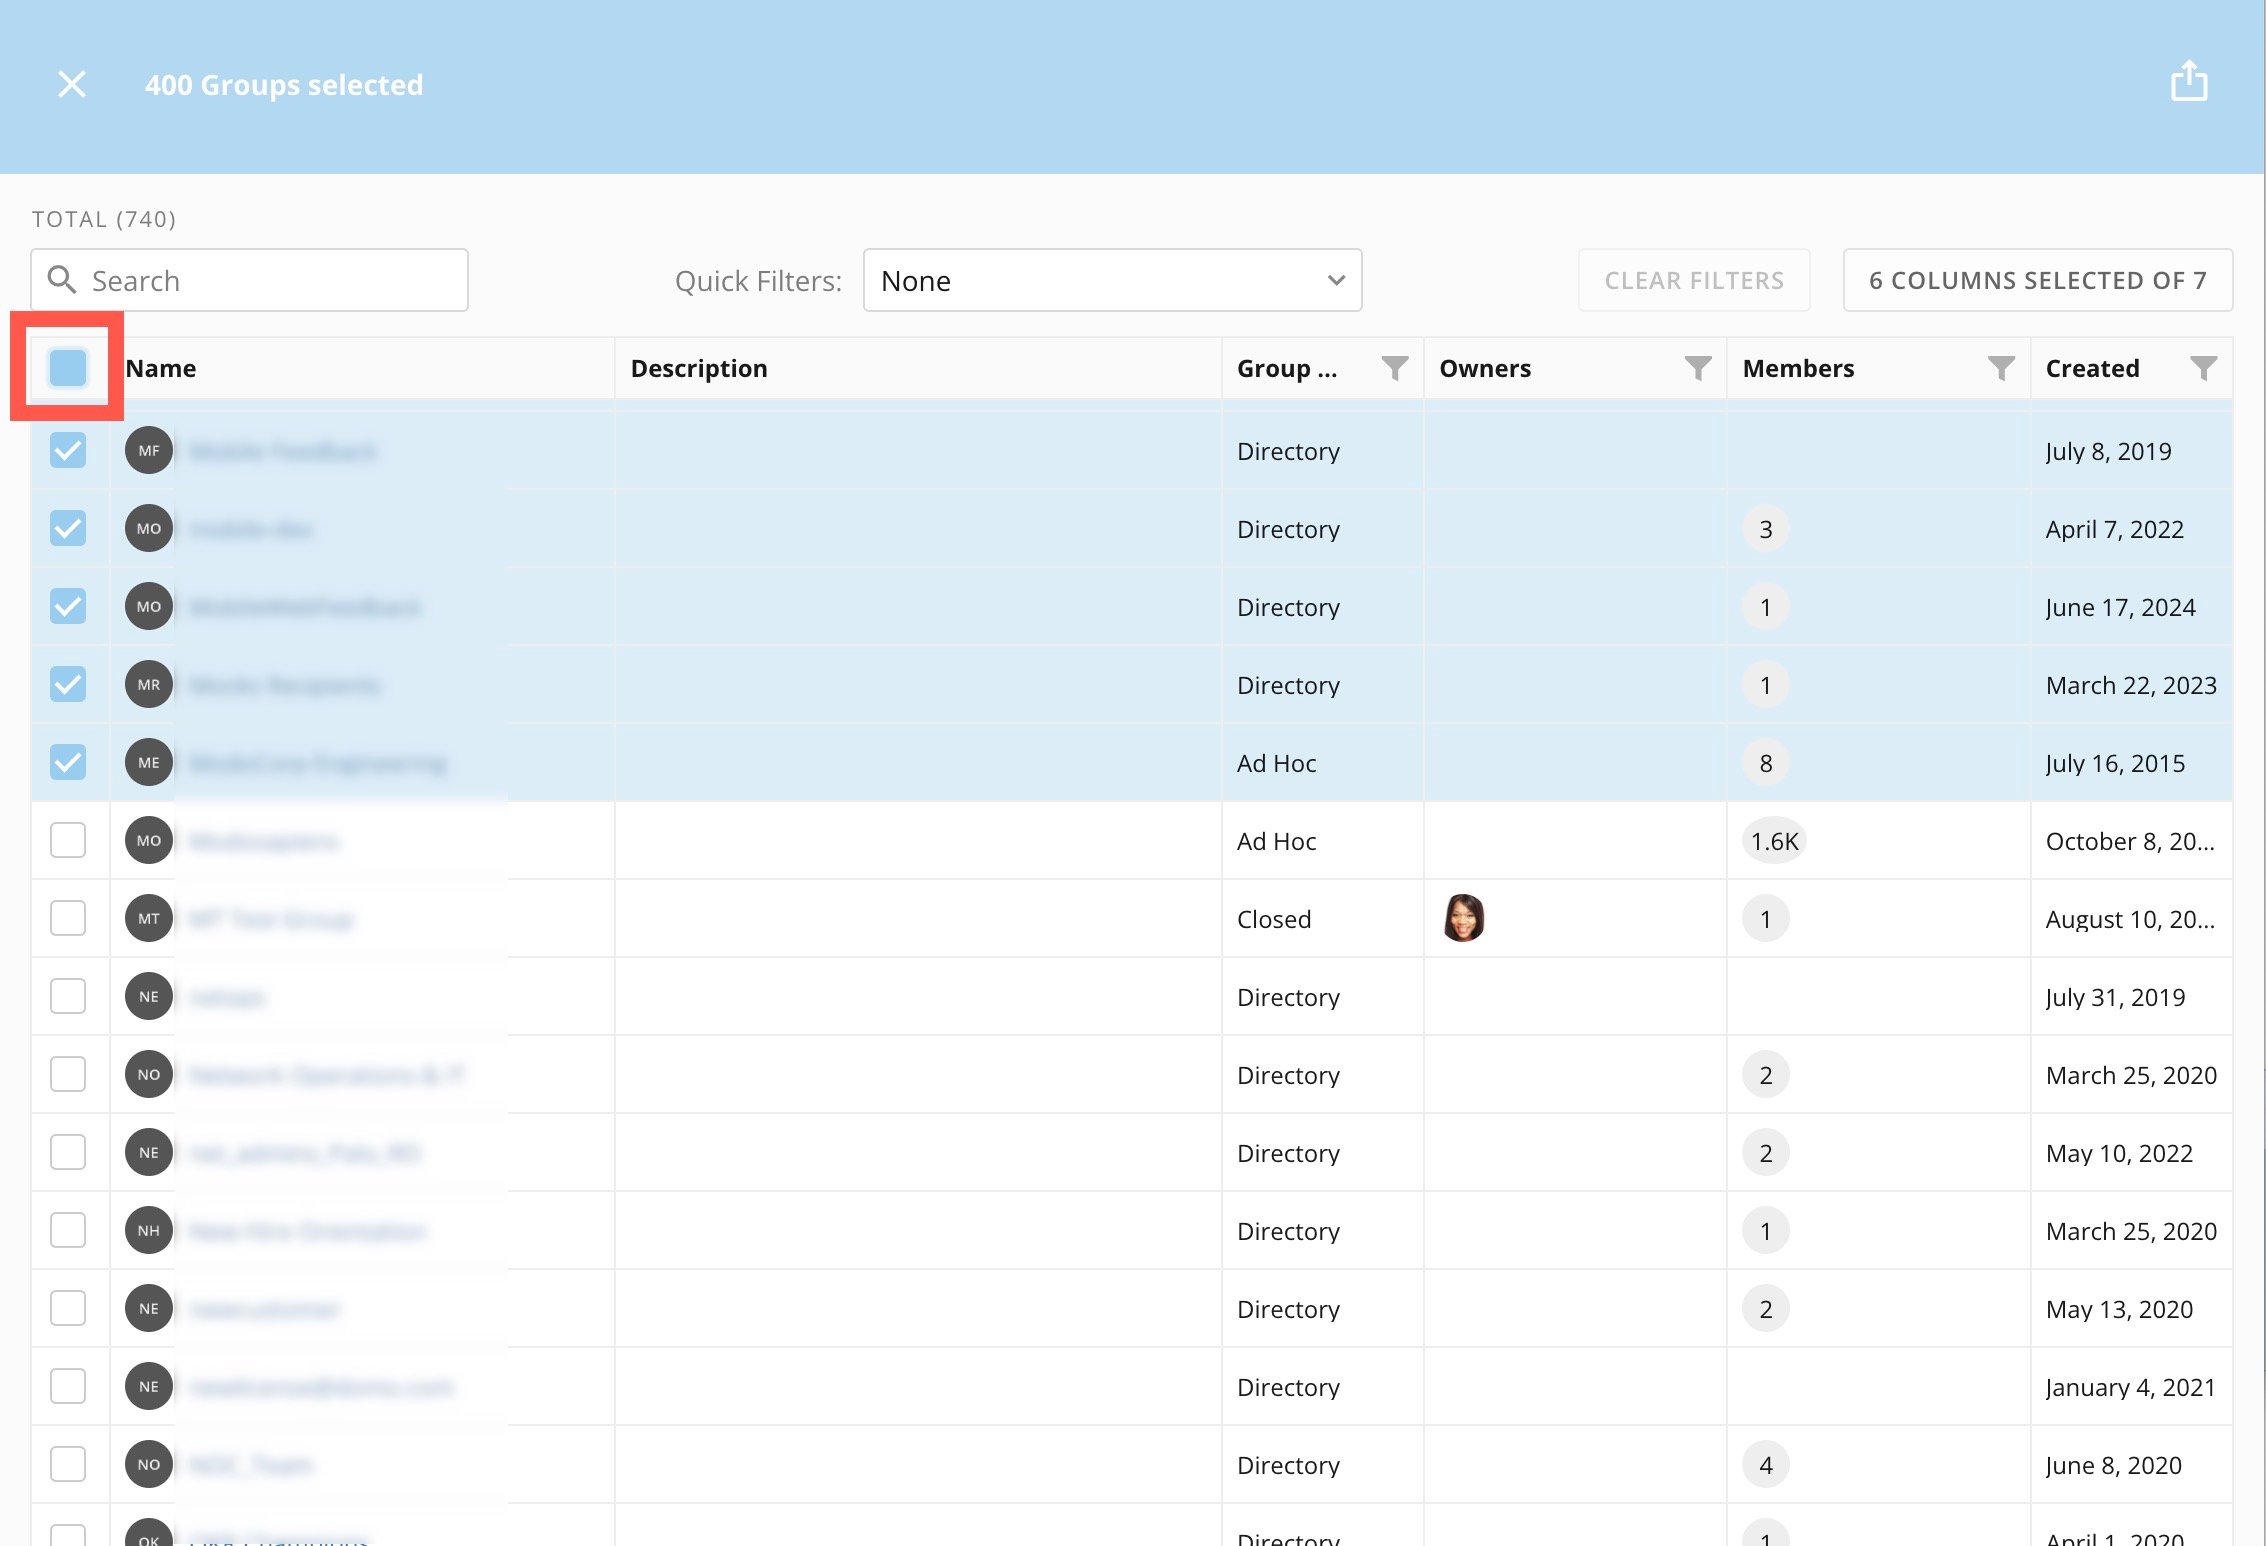
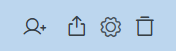
- — Lets you add users from your Domo instance to this group as new members (Owners only).
- — Lets you share a selected Page or Card with all members of this group.
- — Lets you choose to either change the group types for or add owners to multiple groups (Owners only).
- — Lets you delete all of the selected groups (Owners only).
- View a listing of the members of the group.
- View groups this group is an owner of.
- View Cards and Dashboards shared with the group.
- View the configured default overview content for the group.
- Change the name of the group.
- Add a description, or edit it if one already exists.
- Change the group type (open, closed, and dynamic groups only).
- View the SSO settings for a directory group.
- Set or change the owners.
- Add members to the group.
- Share a selected Page or Card with all members of this group.
- Delete members from the group.
Settings icon
Settings icon
Opens the Group Settings subtab, in which you can toggle the following options:
- Add the admin group [selected group] as an owner automatically during all groups creations — When checked, any user in the group selected in Admin group is added as an owner to all new groups. This is set to the “Manage all groups” grant by default. For more information about grants, see Managing Custom Roles.
- [Selected group] can be removed as owner during group creation or after by any owner — When checked, any user added as a group owner through the selected group may be removed as an owner by any other owner.
- Hide system groups in the group management pages — When checked, system groups are not shown in the groups listing in Admin Settings > Groups.
New group icon
New group icon
Lets you add a closed, open, or dynamic group to your Domo instance using the
Group Creation wizard.
Quick filters
Quick filters
Lets you filter the group listing to show all groups in your instance, groups
you’re an owner of, or groups you’re a member of.
Sorts and filters
Sorts and filters
Shows all groups in your instance that pass the filters you have applied (if any). For any group, you can see the group name, owners, group type, the members of the group, and when the group was created.For all columns, you can apply sorts by clicking the column name or filter by clicking the filter icon in the column header.
- For the
Namecolumn, click the header or the sort icon to sort the group names alphabetically or reverse alphabetically. - For the
Group typecolumn, click the filter icon to filter on a different group type. The different group types are reviewed in the Group Types section of this article below. - For the
Ownerscolumn, click the filter icon to filter on a specific owner. - For the
Memberscolumn, click the filter icon to filter people from a list to see only groups they belong to. - For the
Createdcolumn, click the filter icon to set up a date filter to see groups modified on a given date, between two specified dates, or before or after a certain date.
Group Ownership
Open, closed, and dynamic groups can have one or more owners, who are responsible for managing the group. Most group management actions are available only to owners. These actions include:- Assigning other owners to the group or removing owners.
- Adding and removing members to/from the group.
- Deleting the group from Domo.
- Changing the group type.
- Changing the settings for the group.
- Changing the avatar for the group.
- Changing membership criteria for a dynamic group.
Note: Group owners aren’t necessarily members of the group, meaning they
do not have the same access as members. This is by design and allows them to
control group membership as needed. If the group type allows the owner to edit
membership, they can add themselves to that group if desired.
Group Types
There are a number of different group types available in Domo, described below.Closed Groups
Closed groups are considered “full accountability groups” in Domo and are designed to function as “anchor groups” for departments. Only group owners can invite new members to a closed group. Owners must be named individuals or groups, and members must be named individuals. All changes made to closed groups are reflected in the Activity Logs. Closed groups may be assigned as owners of other groups and Domo assets (Dashboards and Cards). Closed groups cannot be changed to any other group type; once a group is created as a closed group, it cannot be changed.Open Groups
Open groups are “social groups” within Domo. In these groups, the group owns itself. This means that every member is an owner and can invite other users to join. These groups are ideal for generating Buzz conversations and sharing content broadly, or for organizing contact groups. Open groups cannot own other groups.Dynamic Groups
With policy-based group membership, dynamic groups enable the scalable and flexible management of your Domo environment. As a group owner, you can create membership policies that reference user attributes or membership in other groups; Domo then handles the maintenance of group membership. For example, you can create a dynamic group for the Marketing department with a policy that includes only users whose Department attribute value is Marketing. The membership of that group automatically updates as users join or leave the Marketing department when their Department attribute value changes. You can’t base membership in a dynamic group on membership in another dynamic, open, or ad hoc group. Likewise, a dynamic group can’t be the owner of another group. However, you can base dynamic group policies on user attributes or on membership in a closed, system, or directory group. To support governance controls, dynamic group policies can reference only Managed user attributes. Managed attributes can’t be set by end users—they can be set only through SSO, SCIM, or by users with the required admin-level permissions. Learn how to set up managed attributes.Directory Groups
Directory groups are imported into Domo via SSO. These groups cannot have owners, and their membership cannot be managed from within Domo, although you can delete them if you have the “Manage all groups” grant. These groups can own other groups.Ad Hoc Groups
Ad hoc groups are “legacy groups” created within Domo (not through a third-party SSO system) before open, closed, and dynamic groups were released. As with directory groups, they cannot have owners. They can be managed by users with the “Manage all groups” or “Edit users” grant. Ad hoc groups cannot own other groups. An example of an Ad Hoc group is one named “Default.” Users in this group can be removed and subsequently re-added as necessary by Admins with the “Manage all groups” grant enabled for their role.System Groups
System groups are groups owned and maintained by Domo, including role groups and grants. They cannot be managed or deleted and do not have owners, although they can own other groups. You can hide system groups by clicking the gear icon in the upper-right corner of the Groups page and selecting the Hide system groups checkbox.Create a Group
-
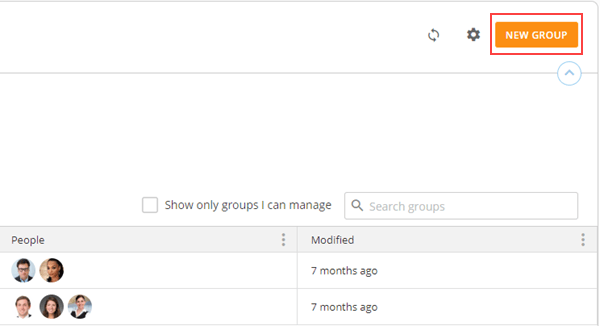
In More > Admin > Governance > Groups, select New Group in the upper-right corner of the tab.
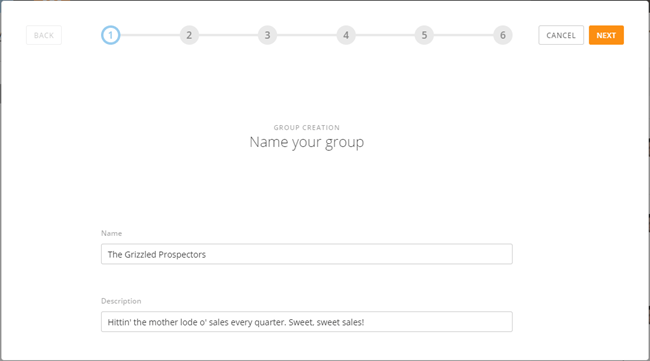
- Enter a name for the group.
-
(Optional) Enter a description for the group so you and other users can more easily identify it later, then select Next.
-
Select your desired group type, which include:
- With an Open group, you select all group members, and any member of the group can invite anyone to join the group.
- With a Closed group, you select all group members, but only group owners can invite new users to join the group.
- With Dynamic groups, you do not select specific members of the group; rather, membership is based on adherence to dynamic rules. For example, you might have dynamic groups for all of your sales regions. If a new sales rep is hired within the “West” region, that person is automatically added to the “West” group in your Domo instance because it matches the sales region they were hired into.
-
(Conditional) Do one of the following:
- If you chose Open or Closed in the previous step, select all desired members of the group from the list of users. You can search for users by name or filter using the filter options available in each column. Once you are done, select Next.
- If you chose Dynamic in the previous step, do the following:
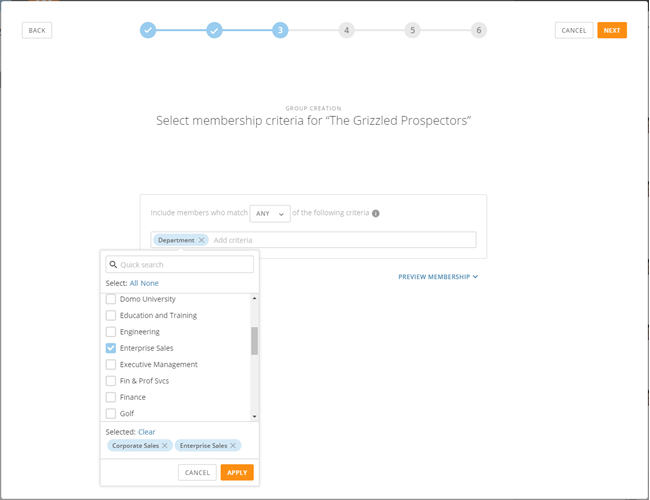
- In the first dropdown menu, select Any if group membership is only dependent on a single rule being met (an OR statement), or select All if all of the selected rules must be met (an AND statement). For example, you may have a case where group members may be members of the “Sales” department OR have a title of “Account Development Manager”; if either condition is met, they are included in the group. Alternatively, you may have a group where members must be in the “Sales” department AND have a title of “Account Development Manager”; if both conditions are not met, the user is not included in the group.
- In the Add criteria field, select a trusted attribute to filter on. For more information about setting trusted attributes, see our article about Personalized Data Permissions (PDP).
-
Select all values within the attribute that meet the conditions of group membership. For example, if you selected Department as an attribute in the step above, you would select all departments whose members should be members of this group.
- (Optional) Add additional OR statements to the membership criteria by selecting OR under the criteria box and repeating steps 5a through 5c above.
- (Optional) View the members who pass the filters by selecting Preview Membership.
- Select Next when done.
-
Choose an avatar from one of the following options, and then select Next.
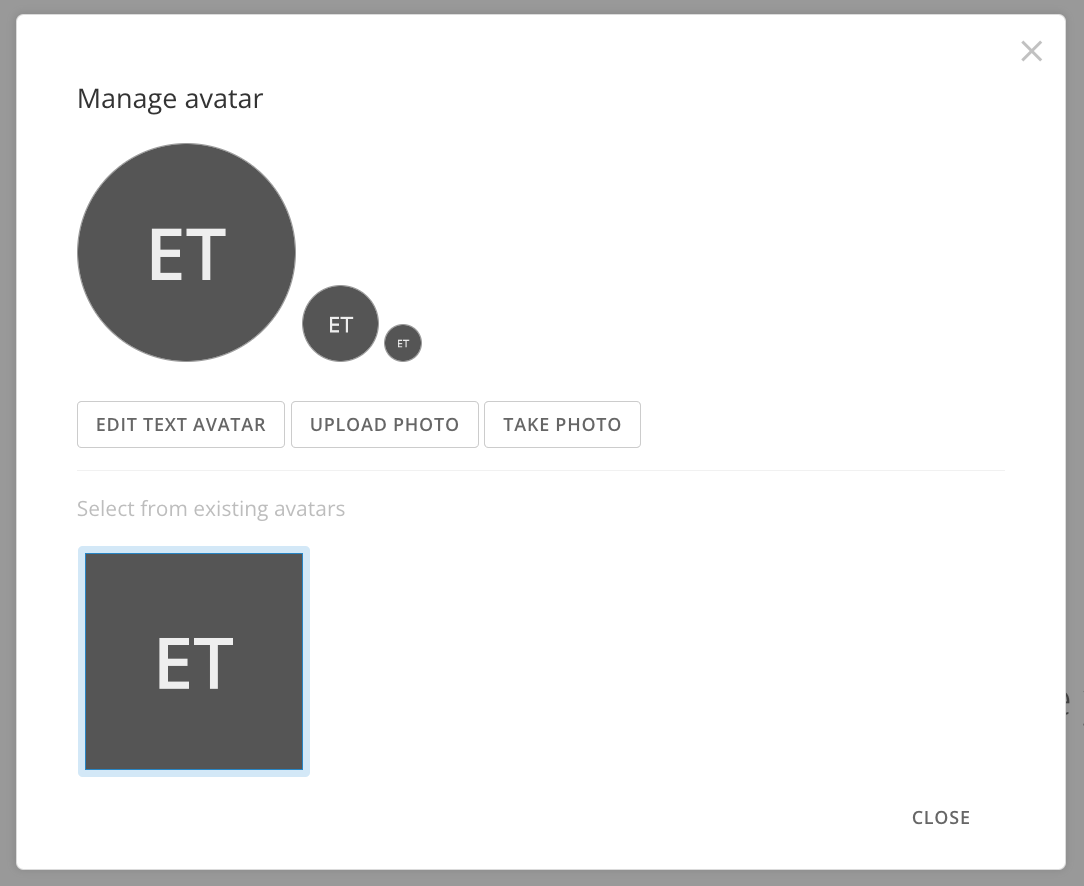
- Edit the standard text avatar (a bubble with two or three initial letters) by clicking Edit Text Avatar then choosing a background color and text color and entering the desired text (limit three characters).
- Upload an image from your computer by clicking Upload Photo, selecting your image file (the image does not need to be a photo, only a standard image file such as a JPEG or PNG), then rotating and cropping as desired.
- Taking a picture of yourself using your webcam.
-
Specify all owners of the group, then select Next. By default, you are assigned to own the group you create. You cannot change this here, but you can remove yourself as an owner later, as described in the Assign Owners to a Groupsection below. Unless you unchecked the box for Add the admin group
<Selected group>as an owner automatically during all groups creations in the Group Settings screen (accessible by clicking the gear icon in Admin Settings > Groups), members of the default group are also automatically assigned as owners. - Review your settings, and when you are ready, select Save.
Note: Group creation applies to open, closed, and dynamic groups only. You
cannot create any of the following group types within Domo:
- Directory (these are created through SSO)
- System
- Ad hoc
Share Content With a Group or Group Members
After you create a group, you can share Dashboards and Cards that relate to the roles and responsibilities of the group members. You do not have to be a group owner to share content with members.Share Content With Individual Members of a Group
- Select the group name to open its details view.
- Check the names of all the users you want to share the content with, then select the share icon in the upper-right corner of the window.
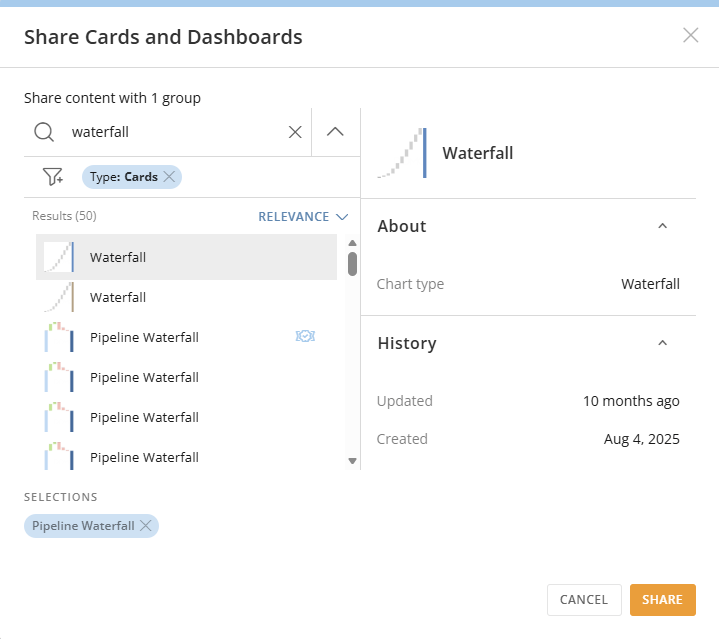
- Choose the Cards and Dashboards you want to share with the user(s). You can search by keyword in the Search field or filter to show only Cards or Dashboards by choosing type Cards or Dashboards in the Add Filter menu.
- Select Share to confirm.
Share Content in Bulk With Multiple Groups
- In the group listing in More > Admin > Governance > Groups, check the box(es) for the group(s) you want to share content with, then select the share icon in the upper-right corner of the window.
- Choose the Cards and Dashboards you want to share with the group(s). You can search by keyword in the Search field or filter to show only Cards or Dashboards by choosing type Cards or Dashboards in the Add Filter menu.
- Select Share to confirm.
Add Members to a Group
In the Admin Settings, you can add members to an open or closed group, meaning that those users have access to all Cards and Dashboards assigned to that group.Note: You cannot add members to a dynamic group in this way because
membership in these groups is based on preconfigured rules.
Note: When you members to a default group, a notification is sent to all
members.
Add Users to an Open or Closed Group
- In More > Admin > Governance > Groups, locate the group you want to add members to.
- Select the group name to open its details view.
- Select Add People in the upper-right corner. If the group is a closed group that you are not the owner of, this button does not display.
-
Check the boxes next to the names of all the users you want to add.
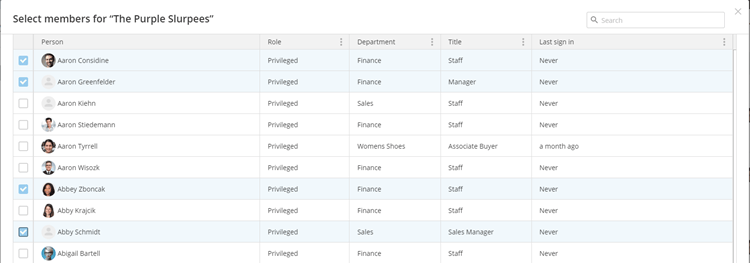
- Select Save.
Add a Specific User to a Group
- In the user list in More > Admin > Governance > People, select the checkbox next to the user you want to add to a group.
-
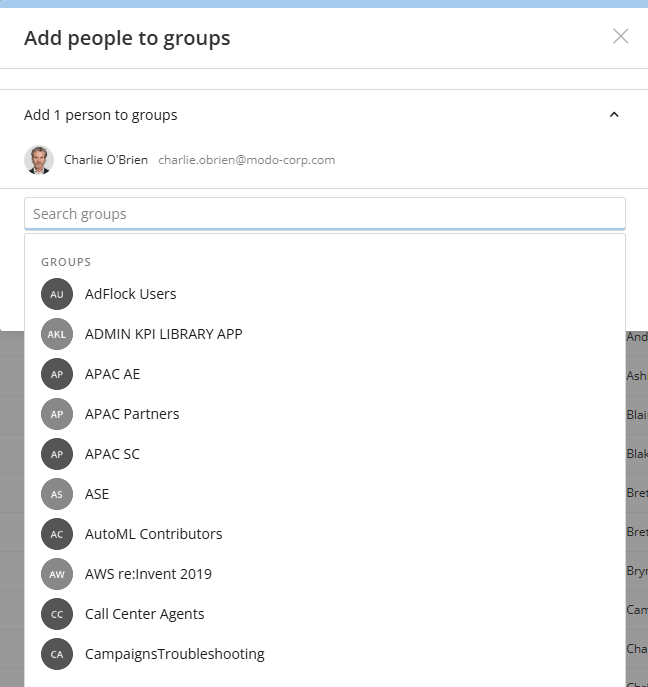
In the action panel at the top of the screen, select Add people to groups . A field displays in which you can search for existing groups in Domo.
-
In the field, enter the name of a group.
The top results of your search display automatically in a list as you enter characters and filter accordingly as you add or remove characters. -
Select a group from the list.
The name of the group displays in the field. - (Optional) Add this user to other groups by repeating the previous two steps.
- (Optional) Remove a selected group from the field by select ✕ to the right of the name.
- Select Save to finish.
Remove Members From a Group
Note: You must be the group owner to perform this task.
Remove Users From a Group
- In More > Admin > Governance > Groups, locate the group you want to remove members from.
- Select the group name to open its details view.
- Check the boxes for all users you want to remove from the group.
- In the upper-right corner of the window, select Settings > Remove from group. If you are not an owner and/or the group is not an open or closed group, this does not display.
Remove a Specific User’s Group Membership
- In the user list in More > Admin > Governance > People, select the user you want to remove from a group.
The user’s information displays in the rightmost panel. - Select Remove for the group you want to remove in the Group Memberships list.
A confirmation dialog displays. - Select Remove to confirm.
Remove Groups From Domo
You can remove user groups from Domo in the Admin Settings. You must be the owner of a group to remove it. When you remove a group, all group members lose access to the Cards and Dashboards that were assigned to the group. To remove a group from Domo, follow these steps:- In More > Admin > Governance > Groups, check the boxes for all groups you want to remove.
- In the upper-right corner of the window, select Delete.
- Select Delete to confirm your decision.
Change the Name and Description of a Group
Use the steps below to change the name and description of a user group in the Admin Settings. You do not need to be an owner of the group to make these changes.- In More > Admin > Governance> Groups, select the group name to open its details view.
- Select the group name or description, and then enter the new group name or description.
Add or Remove Group Owners
As a group owner, you can perform many actions that aren’t available to regular group members. For a list of these actions, see the Group Ownership section of this article. When you create a group, you are automatically assigned a group owner. You can change the current owners, including yourself, in the group details view. Group ownership is only available for open, closed, and dynamic groups. To add or remove owners of a group, follow these steps:- In More > Admin > Governance> Groups, select the group name to open its details view.
-
Hover over the Owners area, and then select Edit.
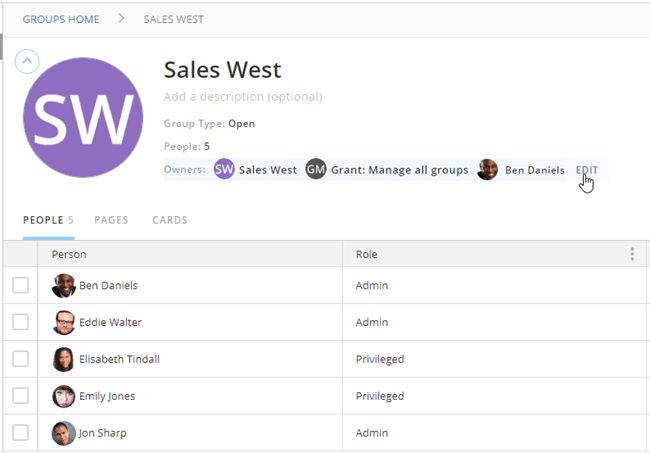
- In the Set owners dialog, add or remove owners as needed.
- Select Save.
Change Group Type
As the owner of an open, dynamic, or ad hoc group, you can change the group type to open, dynamic, or closed. If a group is closed, you cannot change the group type. You cannot change the group type for directory or system group, but directory groups can be nested within dynamic groups. To change the group type for a group, follow these steps:- In More > Admin > Governance> Groups, select the group name to open its details view.
-
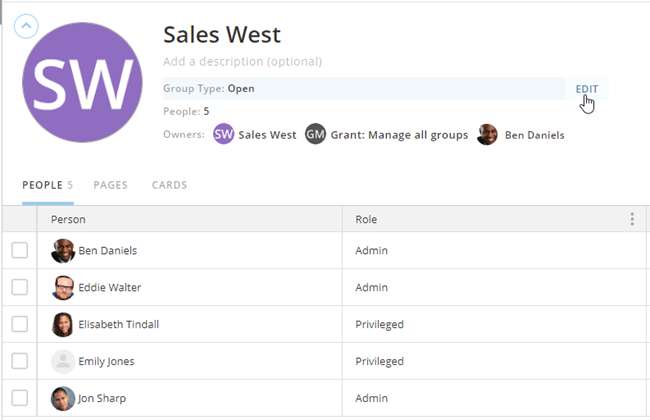
Hover over the Group Type area, and then select Edit.
-
Select the new group type, keeping the following in mind:
- Changing a dynamic group to an open or closed group stops the dynamic addition of users to the group. In an open group, any member of the group can manage its content and membership.
- Changing a dynamic or open group to a closed group is irreversible. Once a group is closed, it remains closed.
- Changing an open group to a dynamic group requires that you set membership criteria for the group, as explained in steps 5i-5vi in the Create a Group section of this article.
- You can change an ad hoc group to dynamic, open, or closed, but you cannot change it back to ad hoc.
- After you have made your changes, select Save.
Change the Membership Criteria for a Dynamic Group
Note: You must be the group owner to perform this task.
- Access the Groups page.
- Select the group name from the list to open the group Details view.
-
(Conditional) For a dynamic group, hover over Membership Criteria and select Edit.
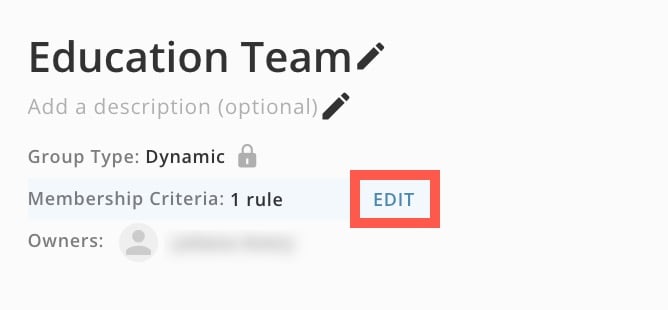
- Make your changes, as explained in steps 5i-5vi in Creating a group, above.
- Click Save when done.
Change the Group Avatar
Note: You must be the group owner to perform this task.
- Access the Groups page.
- Select the group name from the list to open the group Details view.
-
Hover over the avatar and select Edit when it displays.
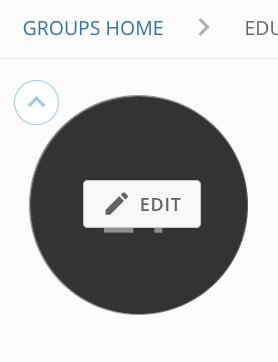
-
Make your changes to the avatar as described in Create a Group, above.